How to Register a Domain with FavoHost
Registering a new domain name with FavoHost is a simple process. This guide will walk you through every step, from searching for your perfect name to completing your order and verifying your ownership.
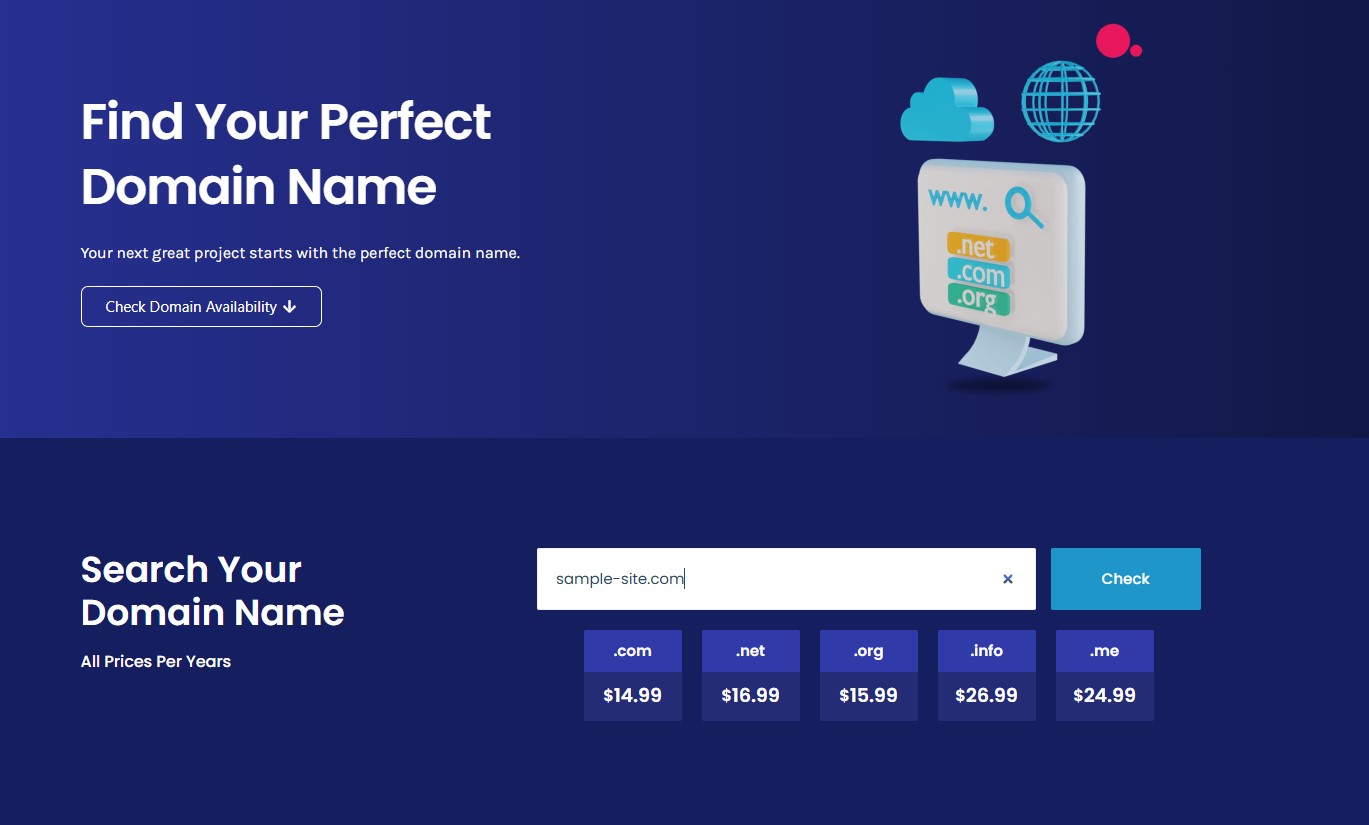
Part 1: Finding Your Domain Name
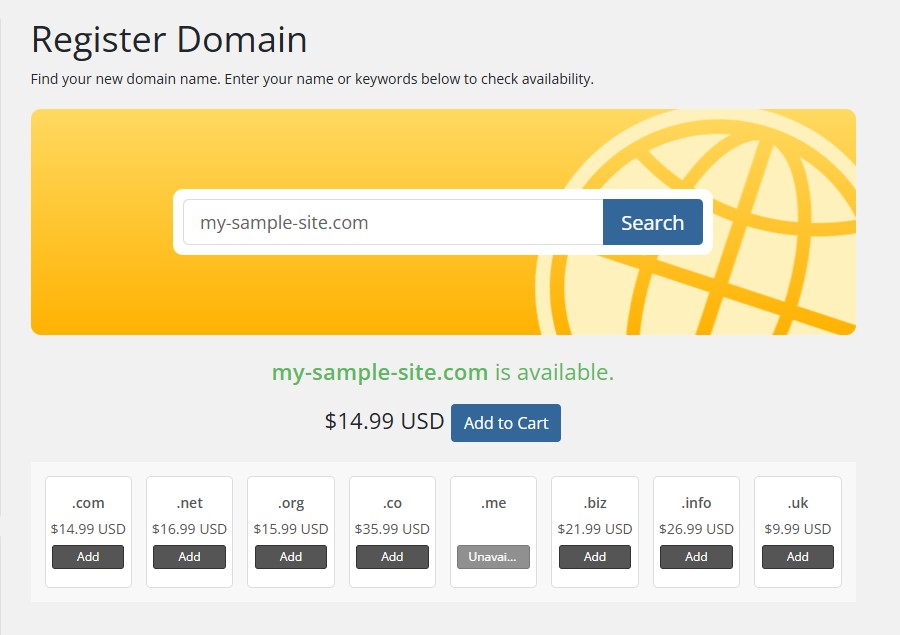
1. Go to our Domains page.
2. Type your desired domain name into the search box and click the Search button.
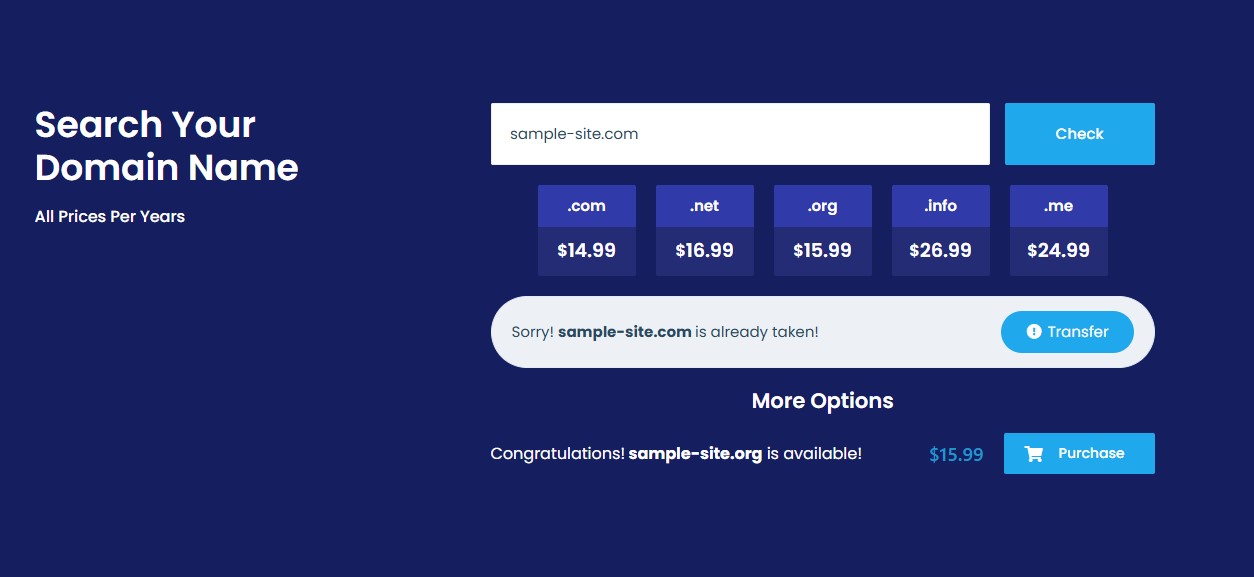
3. The system will now check if the domain is available.
If the domain is taken: You will see a message like "Sorry! sample-site.com is already taken!"
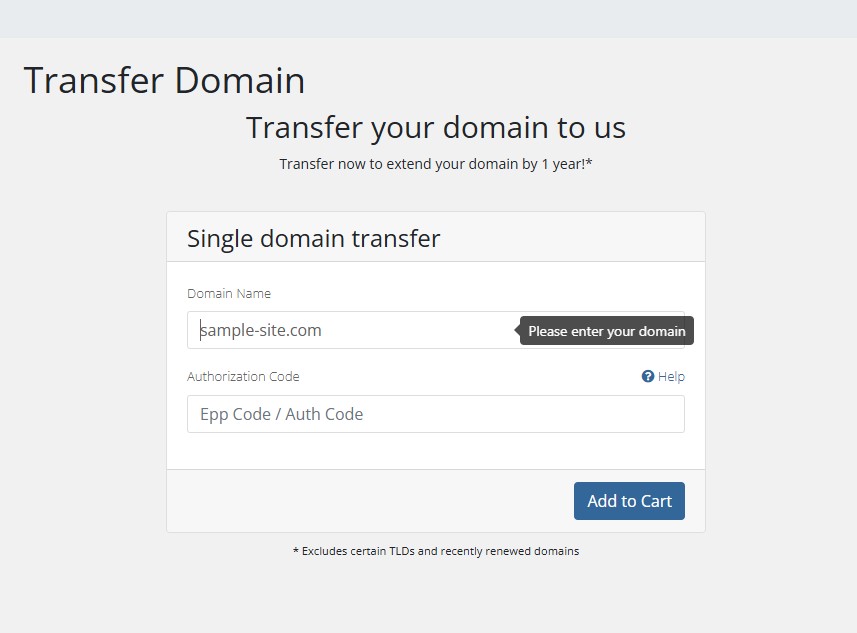
If you already own this domain, you can click Transfer to move it to us.
You will need the EPP/Authorization code from your current provider. Paste EPP/Authorization code and click Add to Cart.
If you don't own it, you must try searching for a different name.
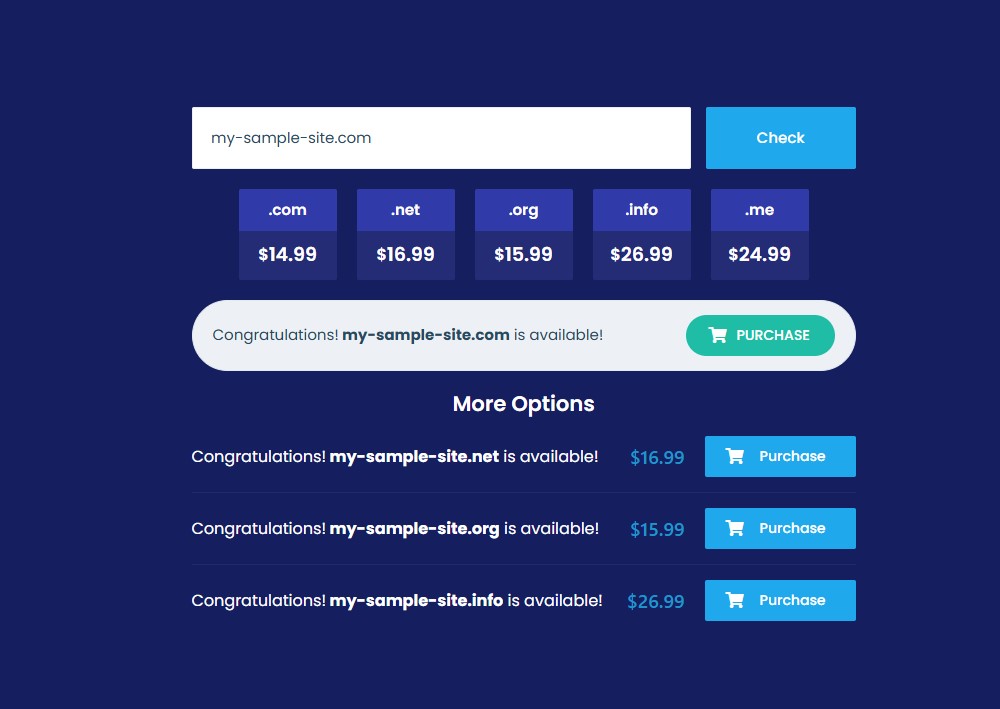
If the domain is available: You will see a "Congratulations!" message. Click the Purchase button.
Part 2: Completing Your Order
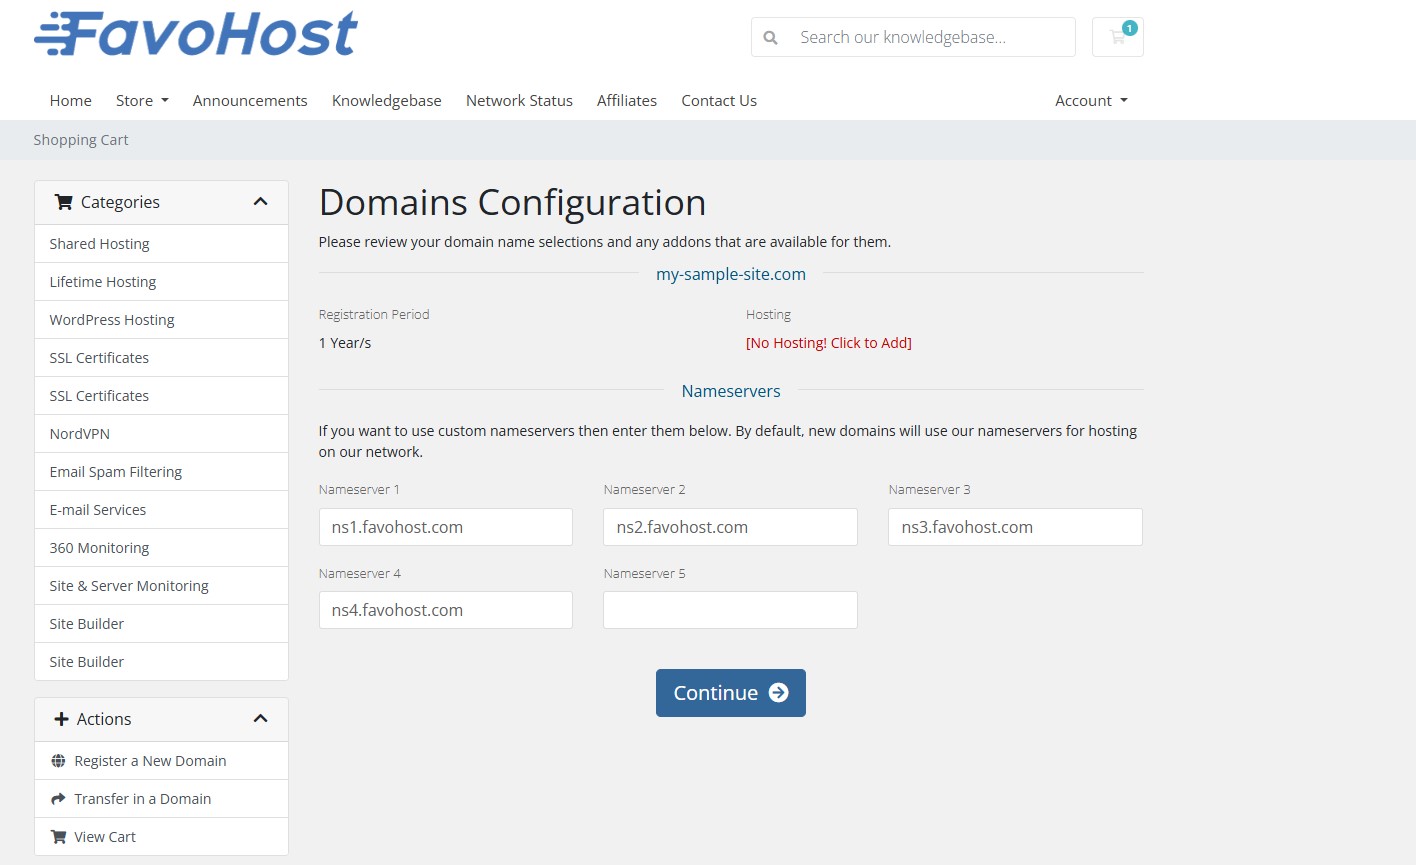
4. After adding the domain to your cart, review your order and click the Checkout button to continue.
5. Domains Configuration: On this page, you can add a hosting plan if needed. The nameservers will be set to the FavoHost defaults. If you plan to use our hosting, do not change these.
ns1.favohost.com
ns2.favohost.com
ns3.favohost.com
ns4.favohost.com
Click Continue.
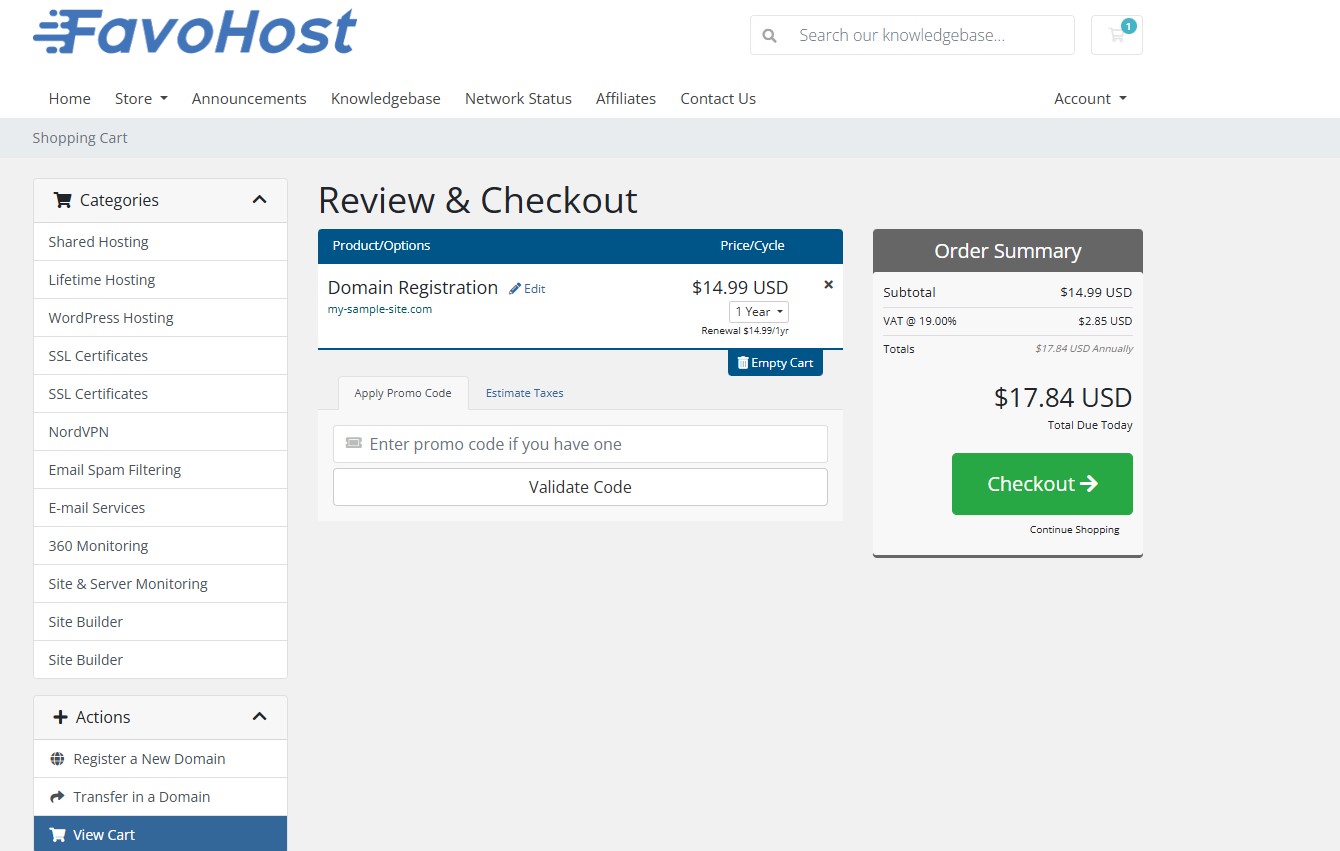
6. Review & Checkout: You can change the registration period from the default of 1 year up to 10 years. When you are ready, click the Checkout button.
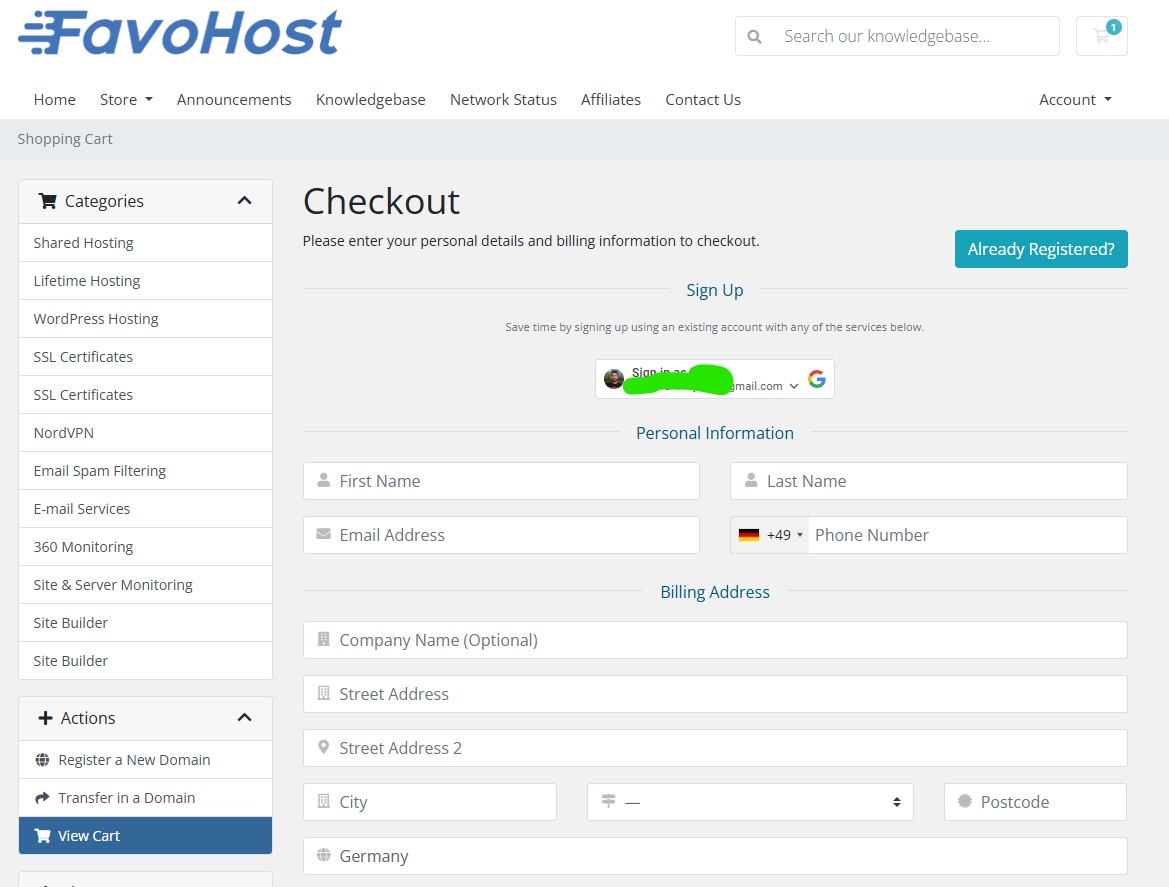
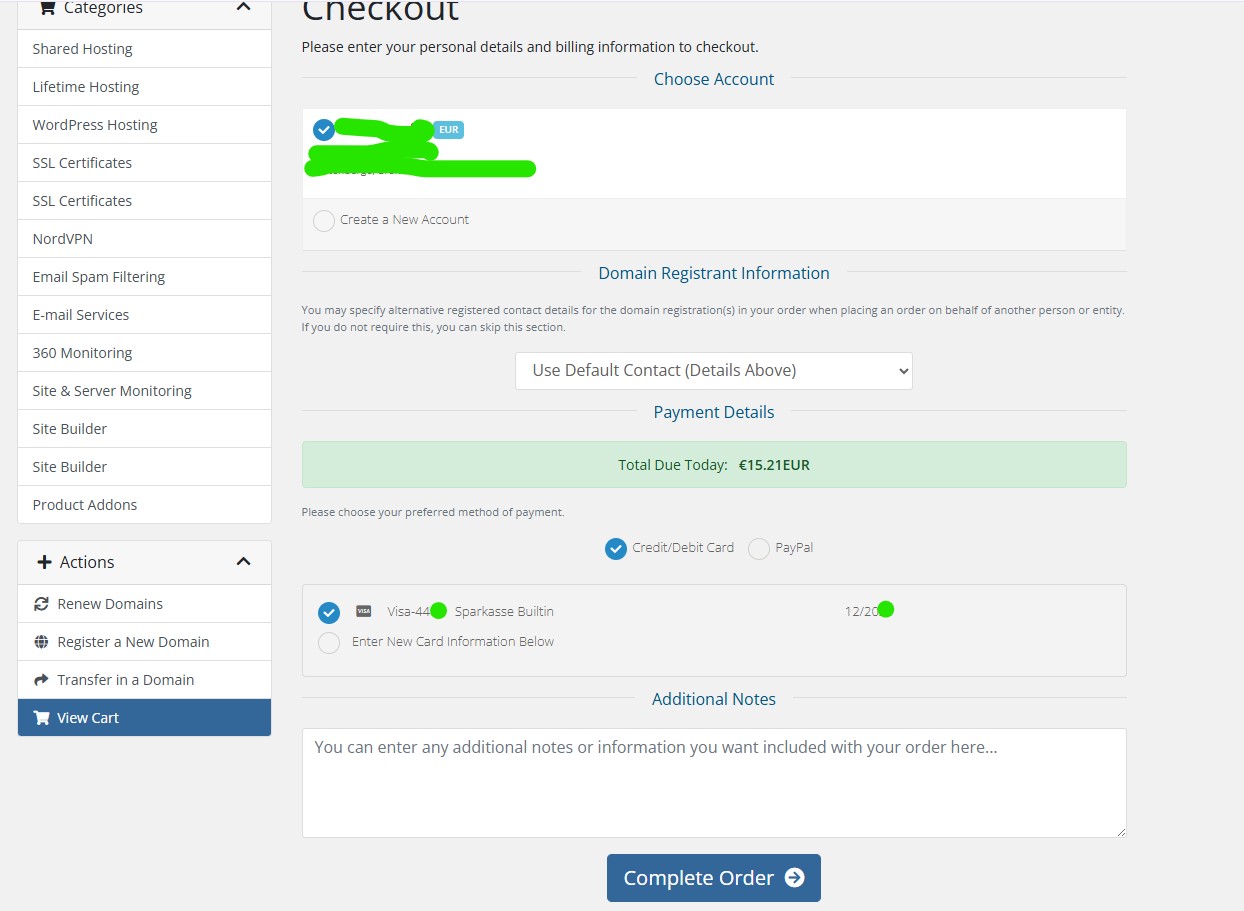
7. On the final checkout page, either log in to your existing account or fill out the form to register a new one. Important: Your personal information will be used as the official owner (registrant) details for the domain. Choose your payment method and click Complete Order.
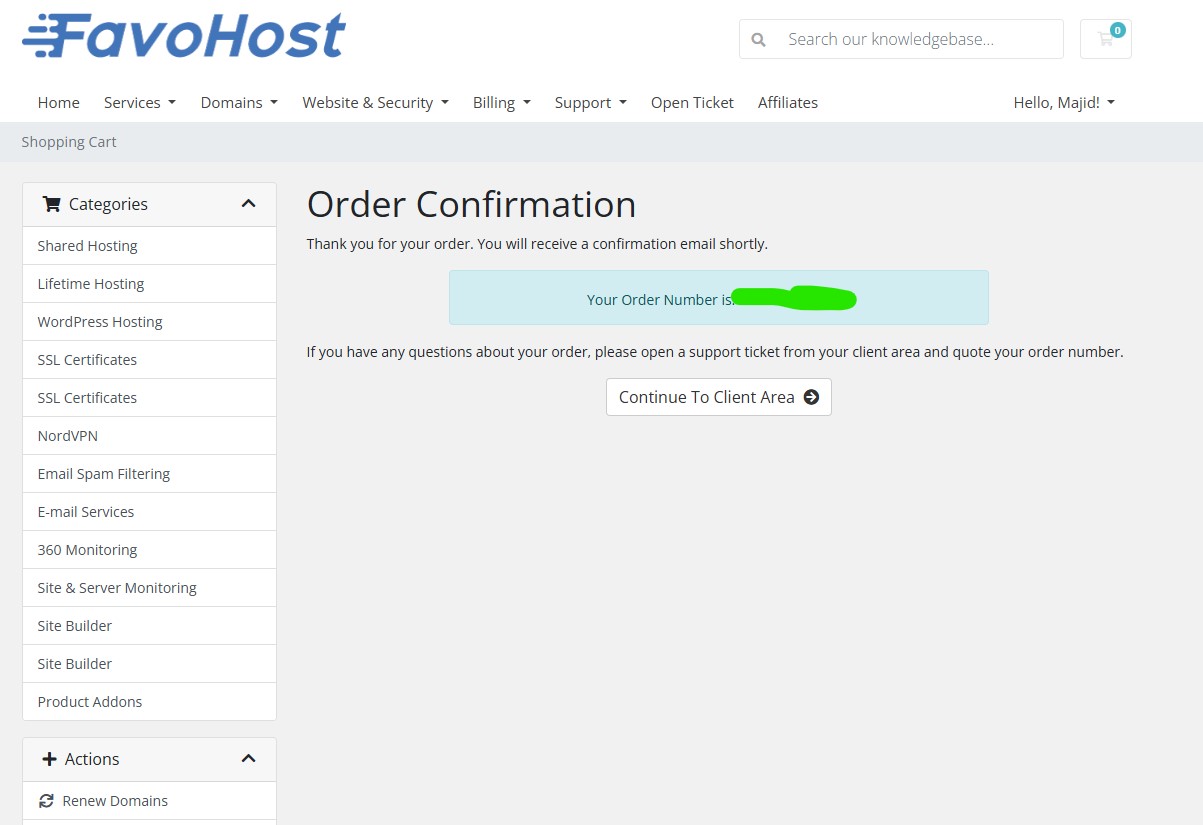
8. That's it! You will see an order confirmation screen. You can click Continue to Client Area.
Part 3: After Your Purchase
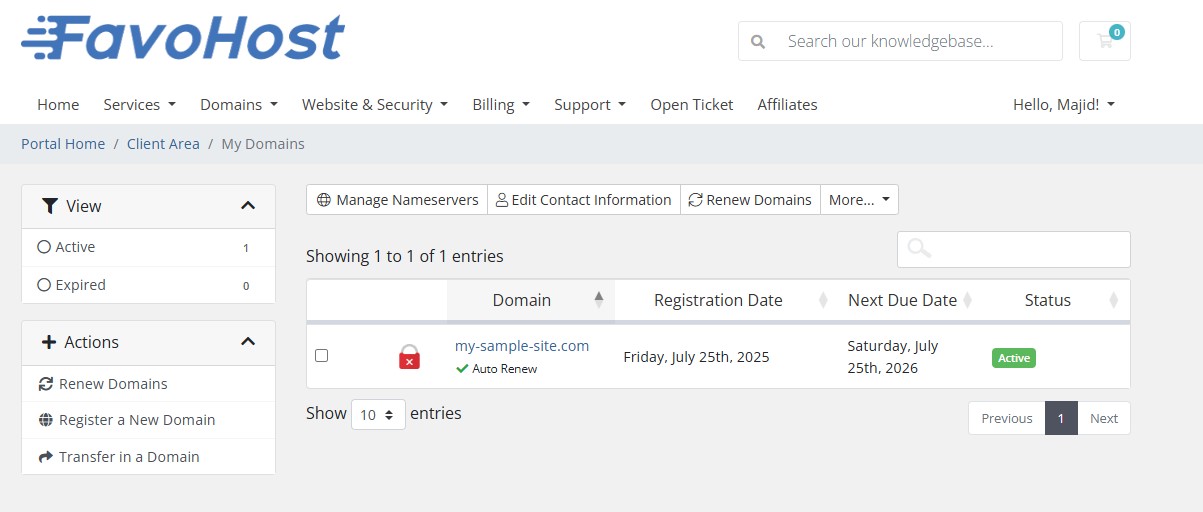
9. You can manage your new domain at any time by going to Domains > My Domains in the client area.
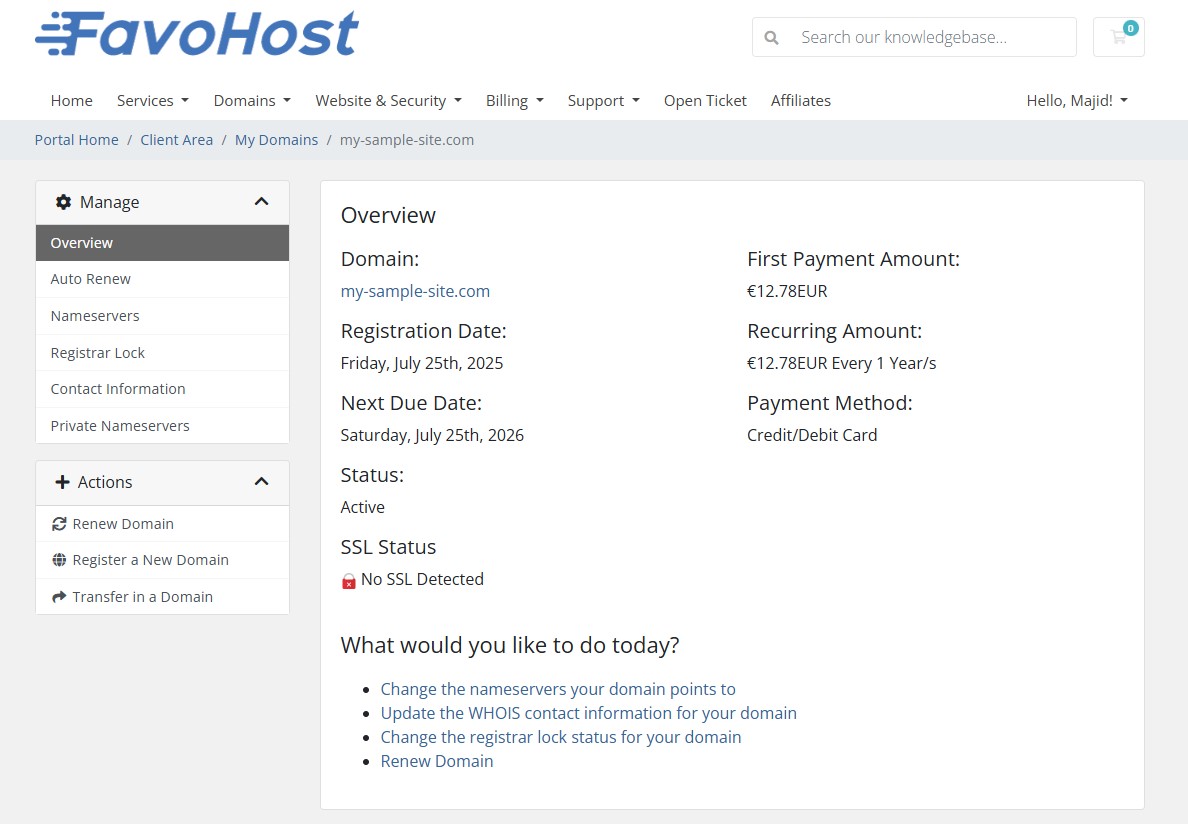
10. From the domain management page, you can update your nameservers, change your WHOIS contact information, and manage the registrar lock.
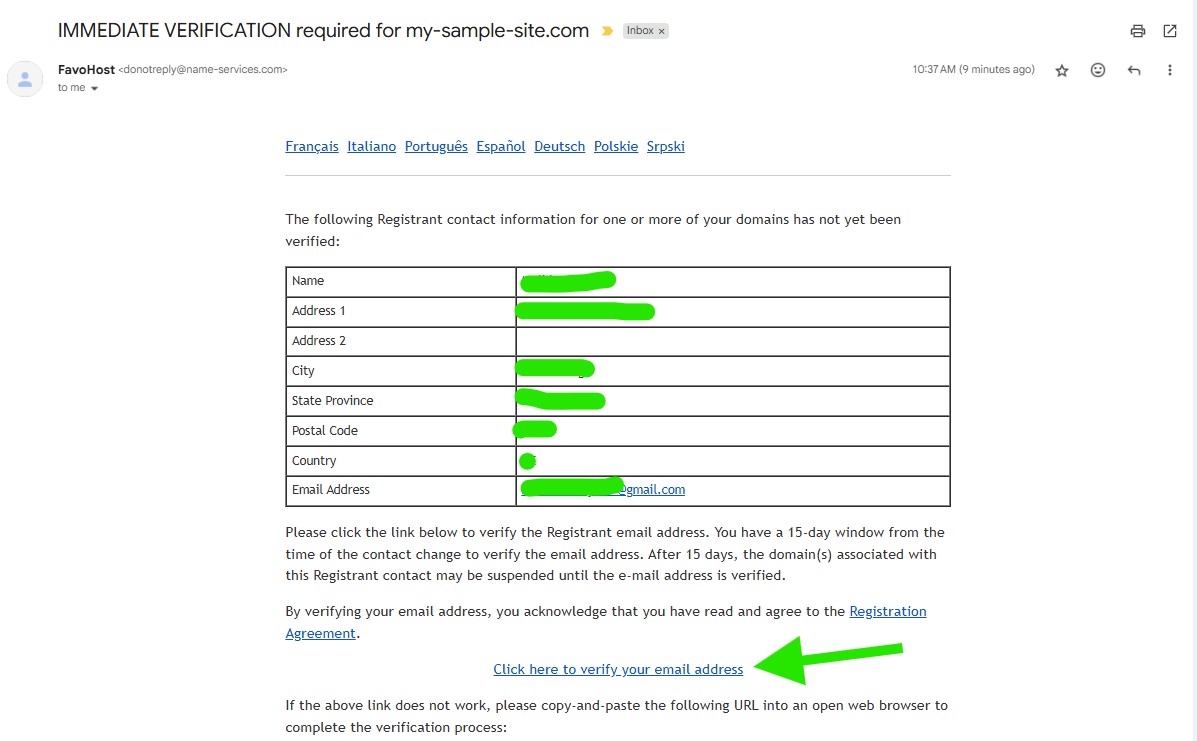
11. CRITICAL STEP - Verify Your Email Address: You will receive an email with a subject line like "IMMEDIATE VERIFICATION required for yourdomain.com".
You must open this email and click the verification link inside. This is required by ICANN to prove your ownership.
After clicking the link, you will see a success message in your browser.
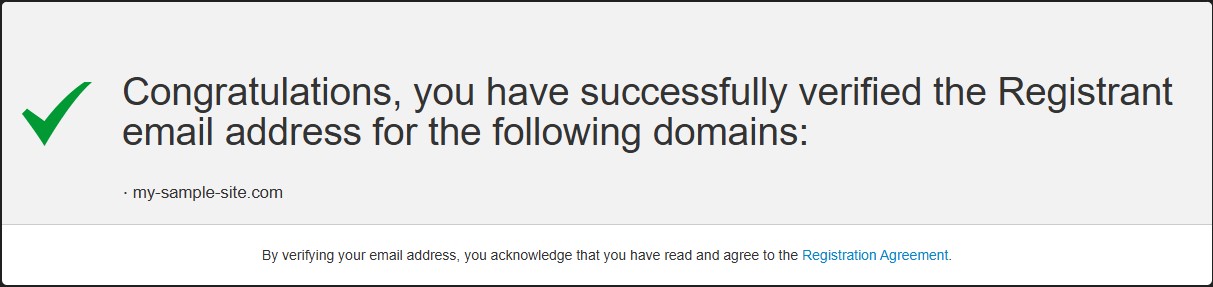
Congratulations! Your domain is now fully registered and verified.
